Saturday, October 30, 2010

Mummy Madness

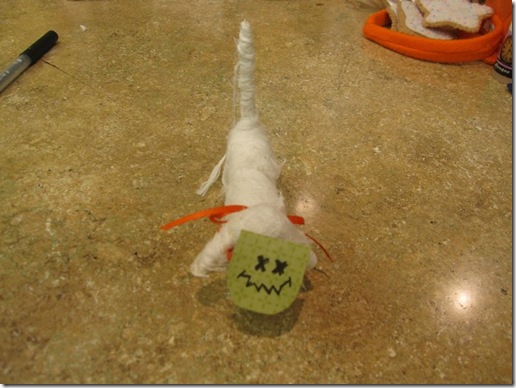
mummydog
In the past few weeks over on In the Studio with Maria (Creative EdVentures), we have been going a little mummy mad!  It all began actually with Andrea Currie discussing themes for upcoming Craft-tastic Live shows (http://www.andreacurriecrafts.com) and some of the ideas that came up were mummies, zombies, and dogs.  Well, Maria was inspired and decided to make a mummy dog with a zombie mask!  From there, it was suggested that we all try to come up with some mummies and have a month long mummy challenge. 
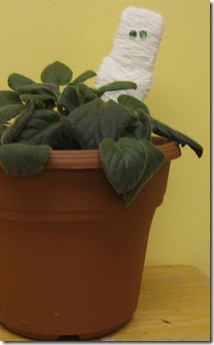
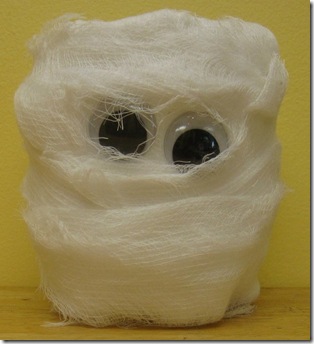
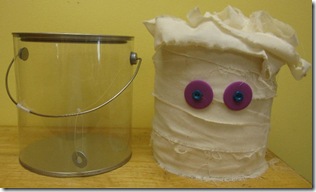
mariamummy mariamummycan
mariamummycan2 mariasmummies
Maria came up with some great mummy ideas didn’t she?
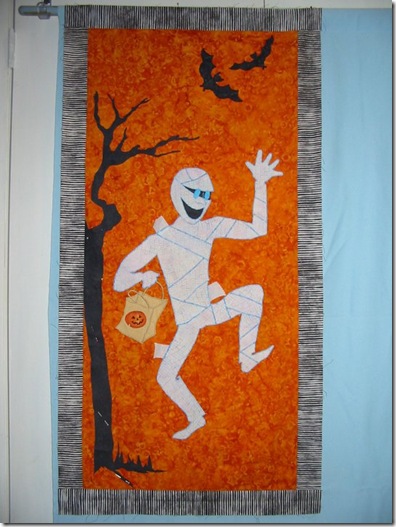
jerrysmummy
Here’s Jerry’s contribution…an amazing mummy quilt!
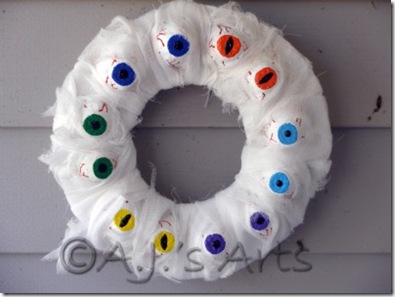
OLYMPUS DIGITAL CAMERA
Amanda made this great mummy eyeball wreath – she was one of our challenge winners!
Here’s a link to her tutorial for how to make one of your own: http://creatingthehive.com/blog-post/22769/mummy-eyeball-wreath-tutorial
Real Estate Mummy (1) CP Mummy PMC Pump (1) Fence w  Mummy (1)
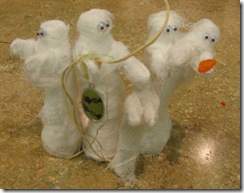
Here are CIndy’s wonderful mummy projects!  She was the other challenge winner!
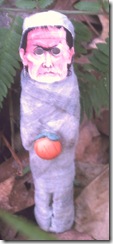
mummyskull
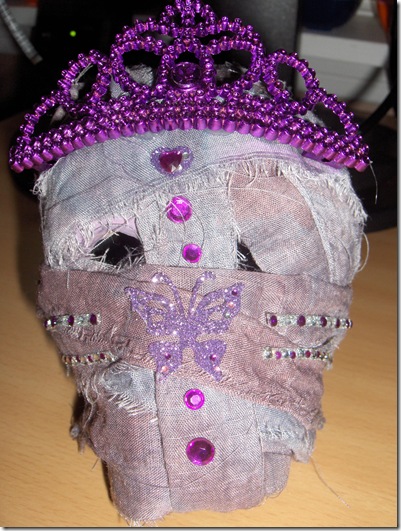
And finally, here are my  contributions.  I saw some fabric that I had Koolaid dyed lying around.  It was in strips because I had been tearing it up and using the strips for water bottle bracelets.  When I saw the torn strips it made me think of mummies and then I became inspired by my daughter.  Her favourite colour is purple and she’s really been liking bling on art projects lately – hence the tiara and rhinestones.  I used a paper mache skull form from Michaels and just wound the fabric strips around it, securing with Aleenes Tacky Glue.  The tiara and rhinestones are all from the dollar store – the rhinestones were sold as a sticker set for “blinging’ up your cell phone.
framemummy
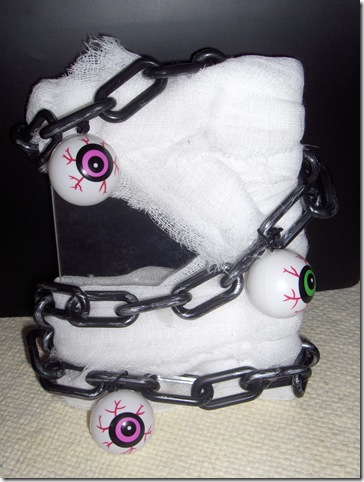
For this project, I took a clear acrylic frame and covered it with cheesecloth (the idea was given later that I could have tea-dyed the cheesecloth for an aged look – love it!).  I found this chain with eyeballs attached at the dollar store and glued that on but you could also use big googly eyes or ping pong balls with eyes painted on (which is all that these are) if you don’t find something similar.  Quick and easy and it has a little opening in it for a photo of a trick or treater!
Here are some links to some other mummy projects:
Barbie gets mummified. http://pattiewack.blogspot.com/2010/10/barbie-mummy-mannequin-mummy-halloween.html
Clay pot mummies http://familycrafts.about.com/od/mummiestomake/a/ClayPotMummies.htm
Mummy treat holders http://familycrafts.about.com/od/mummiestomake/a/MummyTreatRoll.htm
Mummy spoons http://familycrafts.about.com/gi/o.htm?zi=1/XJ&zTi=1&sdn=familycrafts&cdn=parenting&tm=14&f=10&tt=14&bt=0&bts=1&zu=http://www.craftsayings.com/projects/holidays/halloween/mummy_spoon/index.shtml
Movable mummies http://www.kidsturncentral.com/holidays/crafts/mummycraft.htm
Mummy treat cups http://crafts.kaboose.com/yummy-mummy-treat-cups.html
A mummy candy holder http://www.parents.com/holiday/halloween/crafts/mummy-candy-holder-craft/
Mummy heads http://www.rd.com/home-garden/halloween-crafts-mummy-heads/article101210.html
A meatloaf made into a mummy for a cute Halloween dinner idea http://www.familycorner.com/family/kids/recipes/mummy-meatloaf.shtml
Mummy cupcakes http://www.joyofbaking.com/halloweenrecipes/MummyCupcakes.html

Thursday, October 14, 2010

How to Add a Forum/Message Board to Your Blog

This wonderful video tutorial comes to you courtesy of Fabrizio Martellucci.  He breaks it down into very simple steps that are easy to follow.  Enjoy!
http://www.screencast.com/t/4oYtKTwrt9

Friday, October 8, 2010

Paper or Pop Can Ornaments

orn1pic
I demo’d how to make these ornaments on In the Season today.  Here’s the playback link if you missed it:  http://www.linqto.com/PlaybackRoom.aspx?roomname=creativeedventures&name=SingleExplicit_2010_10_08_10_00_15_176
orn2pic
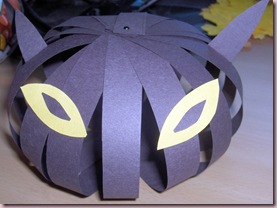
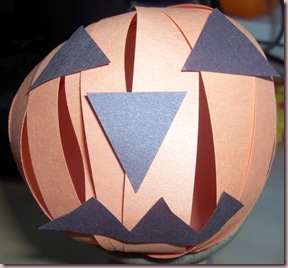
The Jack O’Lantern and the black cat (he still needs whiskers!) were made from construction paper.  You can use any kind of paper that will hold its shape (so tissue paper is too thin) and will give that nice curve without creasing (so you can’t use a thick cardboard).  Begin by cutting strips of paper.  I was using strips that were about 6-7 inches long and about 1/2 to 3/4 inches wide.  On the cat, I cut them all very evenly but I also like the kind of “organic” look it gives on the Jack O’Lantern when I cut those strips at varying widths.  You don’t want them much wider than these (unless you’re making really large ornaments) – I would say 1 inch maximum for ornaments that are about the size you would put on a Christmas tree.  The Jack O’Lantern is about 3 1/2 inches tall while the cat is about 4 inches tall.  For the cat, I used about 14 strips. 
orn4pic
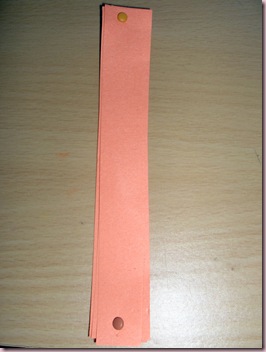
Once you have cut your strips, you need to punch a hole in each end of the strips.  I stacked several strips together and punched through them at the same time.  I couldn’t find my hole punch that makes tiny holes (I’m using mini brads so the holes can’t be very big) so instead I used a nail.  My tip for using a nail or needle is to poke a hole into a cork, squeeze in some Aleene’s Tacky Glue and then push the non-pointy end of the nail/needle into the cork.  This gives you a more comfortable “handle” to hold onto when poking holes with the nail or needle.  Once you have holes punched in both ends of each strip, stack them up so that you can place a brad into each end, holding the stack of strips together.    Now just begin fanning the strips out to form the globe shape of the ornament.  You may have to play with the strips a bit to get them nicely spaced.  You can now add a string for hanging your ornament and any embellishments (like facial features, leaves, stems etc.) to them.  For the ears of the cat, I found it worked best to have them a little longer than I needed so I could fold down a bit of a tab and then glue that to the inside of the strips.
orn3pic
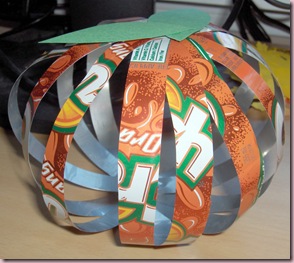
For the one made out of pop cans, I used Orange Crush cans to give me that orange colour of a pumpkin.  I would have liked to have used one more can to make this fuller but only had two cans on hand.  I cut the top and bottom off the cans using a craft knife.  I tried just making a slit with the knife and then continuing to cut around the can with a pair of scissors but that made for a very jagged edge.  Once the top and bottom were cut off, I used scissors to cut the can open so it would lay flat and then to cut the strips.  What’s nice about the can is that they already have a good curve in them.  Also, I used green construction paper here because it was what I had on hand but for the next one I’ll be using leaves cut from a green pop can and adding little tendrils of wire that I’ve spiralled from the top.  Done all in metal, this would make for a great outdoor decoration!  Also, you should be able to slip a tealight or battery operated tealight into these to turn them into lanterns.  When working with the pop cans please remember that they are metal and can get sharp. It’s a wise idea to wear gloves while cutting them and use some sandpaper or nail files to smooth down the burrs and sharp edges.
You can certainly make these for other occasions besides just the Autumn season and Hallowe’en.  Use red and green construction paper to make traditionally coloured Christmas ornaments.  Or how about blue and white for Hanukkah?  You could also buy some pretty scrapbooking paper with holiday designs on it and use that with this technique.  In the chatroom today while I was demo’ing these, Maria Nerius had the great idea of being able to send these ornaments in the mail.  Cut out the strips and put them together with the brads but leave them flat and they’ll fit nicely into an envelope.  You can include some paper pieces or other items for embellishment and the recipient can have the fun of completing the ornaments!  How adorable would that be?  So much fun for kids and adults alike!  I’m always looking for a little something extra to include in my holiday cards without it drastically increasing the cost of postage!
Hope you’ll join us for the next In the Season presented by Creative EdVentures.  It’s every Friday from 11 am to noon Eastern.  http://linqto.com/rooms/creativeedventures

Wednesday, October 6, 2010

Coming Up on Creative EdVentures

As we continue to expand, I thought it might be helpful to provide you with some dates and times for some of the upcoming shows.
Each Wednesday at 11 am Eastern Is In the Studio with Maria.  Maria opens up her studio to us and shows us what she’s working on.  We chat about crafting in general as well as sharing hints for the business side of things.  There’s even the opportunity for you to jump into the queue and show us what you’ve been working on if you’d like.  Next session:  Wed, Oct 13th
Every other Thursday, we’ll have In the Blogosphere starting at 9 pm Eastern.  This is a very casual evening of Blogging 101 tips – those of us who are blogging sharing what we know with those of you who’d like to learn more.  Next session:  Thursday, Oct. 14th
On the in-between Thursdays, it’s In the Kitchen with Cyn.  I’ll be sharing recipes and creative ideas for what I refer to as “edible crafts”.  The time has been tentatively set for 9 pm Eastern but we’ll see how this goes and may hold some sessions in the afternoons if that works better for everyone.  First session:  Thursday, Oct. 21st
Every Friday at 11 am Eastern we have In the Season, a celebration of the seasons and holidays big and small.  Last week I demo’d how to make some paper ornaments suitable for all holidays and seasons.  Next session:  Friday, Oct. 8th
All of these sessions are recorded and archived for a brief period of time if you aren’t able to be there to attend live.  You can join us in the Creative EdVentures Linqto room through Facebook at http://apps.facebook.com/creativeedventures OR through the web at http://linqto.com/rooms/creativeedventures.
We hope you can come and join in on the fun!

LinkWithin

Related Posts Plugin for WordPress, Blogger...