Saturday, July 30, 2011

Christmas in July

santapic

For my little nod to Christmas in July this past week during our In the Zone show I demonstrated how to make these adorable little Santas.  You need some sort of a ring – this one is wooden but plastic or wire or even one you fashion yourself out of something like wire hangers will work.  Then you need yarn or fabric cut or torn into strips – I used white for the beard and a red print for his hat.  Cut each piece of yarn or fabric strip in half and then loop over the ring and tie on with a lark’s head knot.  Gather the red strips together and tie another piece of yarn/fabric around to form the top and pompom of the hat.  String some beads on a piece of yarn/fabric as the eyes and nose and tie to each side of the ring.  You can use smaller rings to make these ornament sized, medium rings work great if you want a doorknob hanger (just put the doorknob right through the hat), or large ones to make door or wall decor in place of a wreath.  With the larger ones, you might even want to experiment with adding a second string below the eyes/nose with a red bead for a mouth and tying on some small piece of yarn or fabric strips to add a moustache as well.

Here are some of my favourite Christmas projects from past blog posts:

wreathpic

http://cynchronicity.wordpress.com/2010/12/05/wreath-photo-frame/

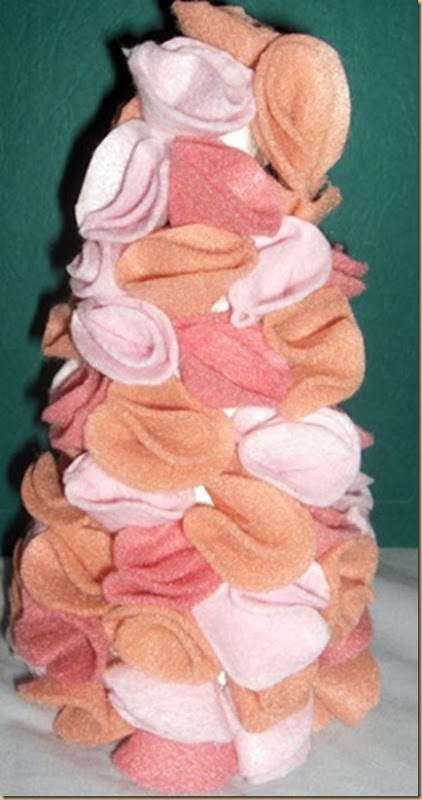
feltreepic

http://cynchronicity.wordpress.com/2010/12/04/o-christmas-tree/

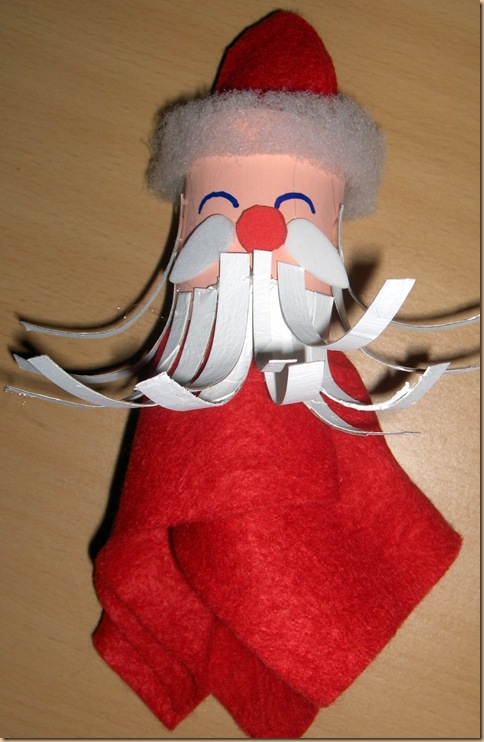
santa5pic

http://cynchronicity.wordpress.com/2010/12/10/christmas-napkin-rings-from-todays-intheseao/  (Several other cute options for napkin rings here too)

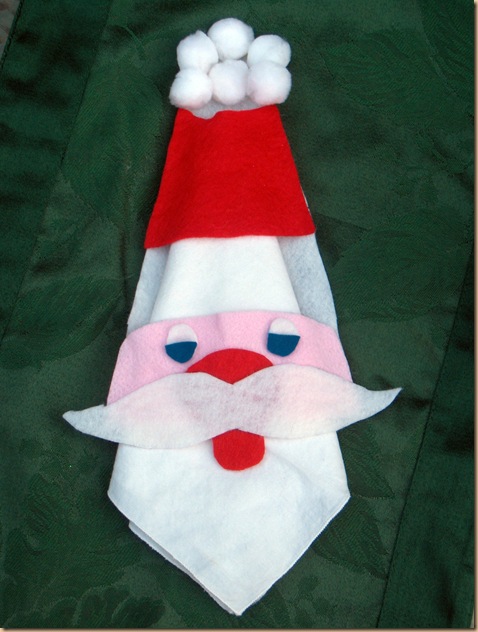
napkin2pic1

http://cynchronicity.wordpress.com/2010/12/13/santa-napkin-holder-from-todays-cool2craft/

Lots of other great ideas – check out my blog for more:  http://cynchronicity.wordpress.com

Important Announcement

We're taking a break! Yes, Creative EdVentures is going on hiatus for the rest of the summer but don't you worry - we'll be back with more shows in the fall. Please stay tuned to our fan page, blog, and Twitter accounts as we'll continue to share creative ideas with you and you'll be first to know when the shows will be returning.

Thursday, July 28, 2011

Our Summer Schedule

Here's our summer schedule of shows:

Mondays: Noon Eastern - Come to Chat with Kelly
9 pm Eastern - In the Zone with Cyn and Roberta

Wednesdays: Noon Eastern - Come to Chat with Cyn

Thursdays: Noon Eastern - In the Paintbox with Amanda (and sometimes her little helpers!)

Fridays: Noon Eastern - Come to Chat with Dawn

Noon Eastern = 11 am Central, 10 Mountain, 9 Pacific
9 pm Eastern = 8 pm Central, 7 Mountain, 6 Pacific

Click on this link to enter the room at show time: Our shows

Saturday, July 9, 2011

Prayer Flags

By Cyn Gagen

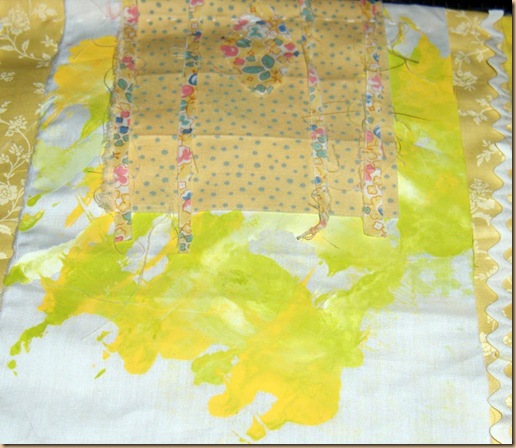
flag2pic

The belief behind prayer flags is that prayers, mantras, and symbols are written and drawn on them.  The flags are then hung up outside where the wind can touch them and carry the prayers out in the world to touch all who come into contact with that wind.  Buddhists believe that anyone touched by these wind-carried prayers feel uplifted and are granted good karma.

flag3pic

My first prayer flag:  Cultivate joy and bestow kindness.  Under the layers of cloth, I’ve written some more personal intentions.

The other day during Come2Chat I was working on painting on fabric in preparation for making prayer flags.  You can see some of the painted fabric above in this prayer flag.  Here’s the post where I shared the painting techniques I used:  http://creativeedventures.blogspot.com/2011/07/playing-with-paint-and-fabric.html

For more information about prayer flags, check out the post over on my blog here:  http://cynchronicity.wordpress.com/2011/07/09/quilt-ladies-quilt-show-saturday-prayer-flags/


Thursday, July 7, 2011

Playing with Paint and Fabric

Cyn Gagen

flags4pic

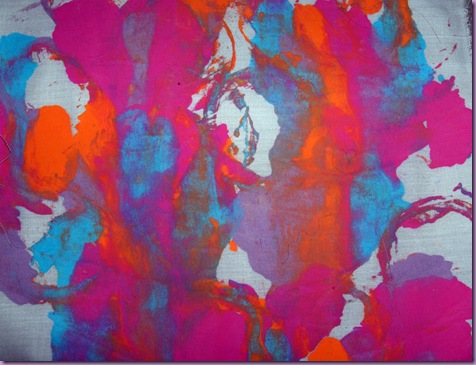
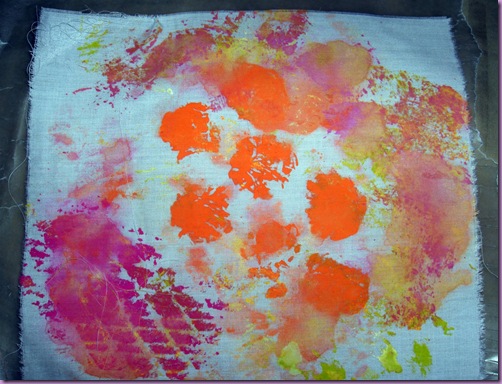
On yesterday’s Come2Chat, hosted by yours truly, I was playing around with some paint techniques and sort of mono-printing onto fabric.

flags1pic

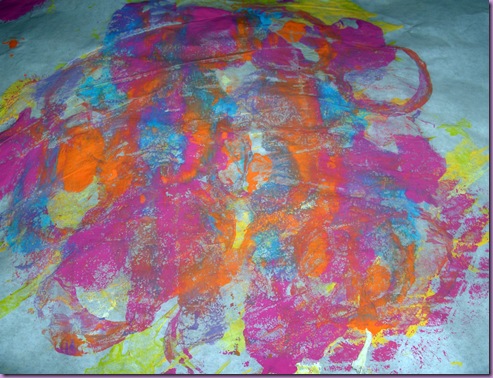
The techniques I used were inspired by some I learned from Traci Bautista’s book Collage Unleashed.  I put down a piece of freezer paper shiny side up and then just squirted on some acrylic craft paint.  Then comes the playing around part.  You can scrape across the paint with old gift cards (or hotel keys or whatever), you can paint through some mesh (like the kind you get onions in or wrapped around pears) or on some bubble wrap and press that onto the paper, or you can run something like a popsicle stick or bamboo skewer through – randomly or to create a particular design.  In the picture above you can even see some circles where I used a toilet paper roll, pressed it into the paint, and then turned it to leave the circle shapes on the page.

flags2pic

Then I laid a piece of cotton broadcloth over the painted freezer paper.  I couldn’t find my brayer so I laid a piece of waxed paper (pictured above) over the fabric and then used a paint bottle as my brayer.  I saved the pieces of waxed paper with the paint on them as I can use these in mixed media work, ATCs, and greeting cards.

flags3pic

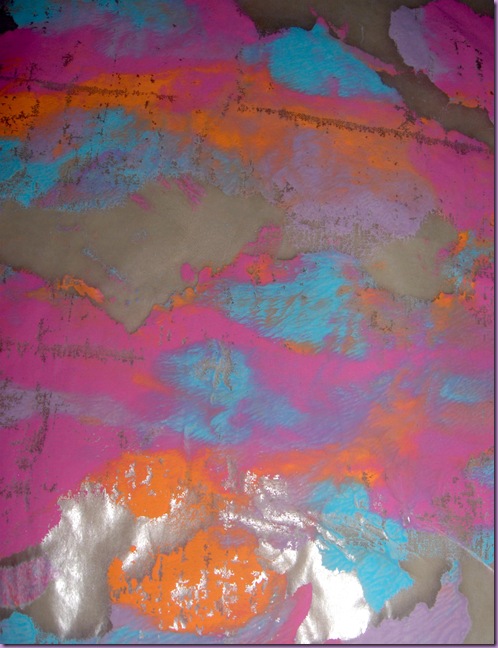
Instead of fabric, you can print onto paper towels as well.  Once you place the fabric or paper towel over the painted freezer paper, you can spritz it with water to get the paints to mix and blend some more, you can drip on some more paint, sprinkle on some glitter, and so on.  Once the paper above was dry, I used some Liquitex Gel Medium to collage on some Lutradur, tissue papers and candy wrappers.  You can keep layering on as much paint and other items as you want!

flags6pic

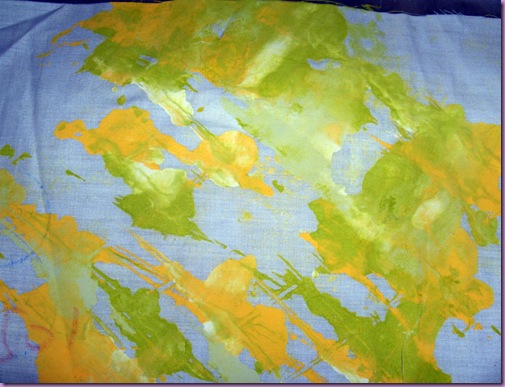
I scraped through the paint with a bamboo skewer on this one.

Now once you’ve taken a print or two off the freezer paper, maybe it has started drying up.  Well you have a couple choices.  You can just leave it as is and use it in a collage, ATC, greeting card or more or you can spritz it with some water to reactivate it and take more prints.

flags5pic

Can you see where I used jumbo bubble wrap and plastic mesh on this one?

Stay tuned to see where I take these fabric pieces and how I use them next!

Join us every Monday, Wednesday, and Friday at noon Eastern for Come2Chat.  It’s a casual chat time where we share what we’re working on in our studios while we chit chat.  http://linqto.com/rooms/creativeedventures

Tuesday, July 5, 2011

In the Zone: A Demo Inspired by Georgia O’Keeffe

By Cyn Gagen

On last night’s In the Zone, we did a 4th of July salute to American art.  Roberta chose to focus on Janet Fish while I went with Georgia O’Keeffe.  Both female artists who brought a different spin to traditional representational American art and who demonstrated a love of colour.  That’s where the similarity ends though as Fish is a contemporary realist artist and O’Keeffe’s paintings, considered part of the American Modernism period, bring more of an abstraction to them. Her ability to blend representative and abstract art in one is what made O’Keeffe one of the most distinctive and innovative artists of her time.

flower1pic

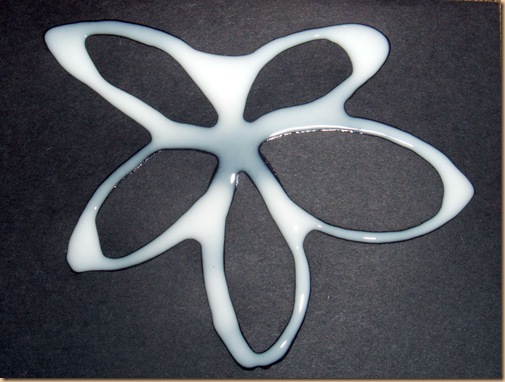
For my demo, I showed how to make these simple little flower pictures inspired by the close-up flowers O’Keeffe painted.  To begin, you need a thick white glue.  I’m creating these on basic black construction paper but you can do this on a canvas as well and you can choose whatever you want as your background colour.  For the glue, I prefer something like the Crayola No Run School Glue http://www.crayola.com/products/list.cfm?categories=GLUE (I get a similar one at Dollarama here in Canada) because it’s nice and thick.  You can use Aleene’s Tacky Glue as well but it’s not quite as thick. http://www.michaels.com/Aleene's%C2%AE-Original-Tacky-Glue%C2%AE/gc0040,default,pd.html

flower2pic

You can lightly pencil on your outline or just freehand it with the glue.  Let this dry really well before proceeding.  I find it takes a good 12 hours give or take depending on how thick you apply the glue.  You can use chalks (just regular coloured chalk such as you would use in school or the chalks that are sold for scrapbooking and rubber stamping) or pastels (soft or oil – the ones I used here were called Water Sticks – they’re very much like pastels but if you add water to them you can get a sort of watercolour appearance to them).  I used a combination of both.  The pastels work really well to go over the glue outline and to add a little definition to the piece.  In places where I got a bit of the pastels onto the actual petals instead of the outline, I left that because I didn’t mind the punch it gave to the flower.  For the colours on the petals, I applied the chalks – I found using my finger gave the best appearance. 

flower3pic

For more information about Georgia O’Keeffe, check out this blog post:  http://cynchronicity.wordpress.com/2011/07/05/in-the-zone-a-demo-inspired-by-american-art/

Monday, July 4, 2011

Grungy Mixed Media Art Journaling July 4th

Happy 4th Everybody!!!!! I had a great show today on Creative EdVentures Come2Chat showing a grungy Art Journal Mixed Media technique. We learned how to make sequence waste with a piece of poster board and hole punch, using a glue stick round bottom to add more texture and so many other cool things. We had so many great suggestions today in chat! Using mesh bags from fruit as texture different colors and ideas on what to write or to put on as picture. I chose a star today for July 4th and to let the world know I AM INDEPENDENT! Here are a few pics and the video of the demo! Any questions please feel free to message me!!!  You can see the video here on my YouTube channel   


Friday, July 1, 2011

Jasper Johns Kid Friendly Encaustic Technique

by Amanda Marks
On In the Paint Box on Thursday I showed a Kid Friendly Encaustic Technique.  The show itself was a little bit of a train wreck working with small children that will happen.  I went through and made templates of the flags so everyone can make their own Jasper Johns' Flags.  I also included a Canadian Flag Template to celebrate Canada Day. 

Playback for In the Paint Box

Blog Post about the technique

LinkWithin

Related Posts Plugin for WordPress, Blogger...