Some time ago, we were chatting during In the Studio with Maria and asking what kinds of craft projects people would like to see demonstrated. Mary Lou Makela brought up angels and several others joined in saying they loved and collected them. Mary Lou was even involved in an angel swap so I promised I would share my ideas with her. Unfortunately, she passed away the day before I was demo'ing them but in subsequent weeks, I did show how to make these on In the Season and am sharing them here now.
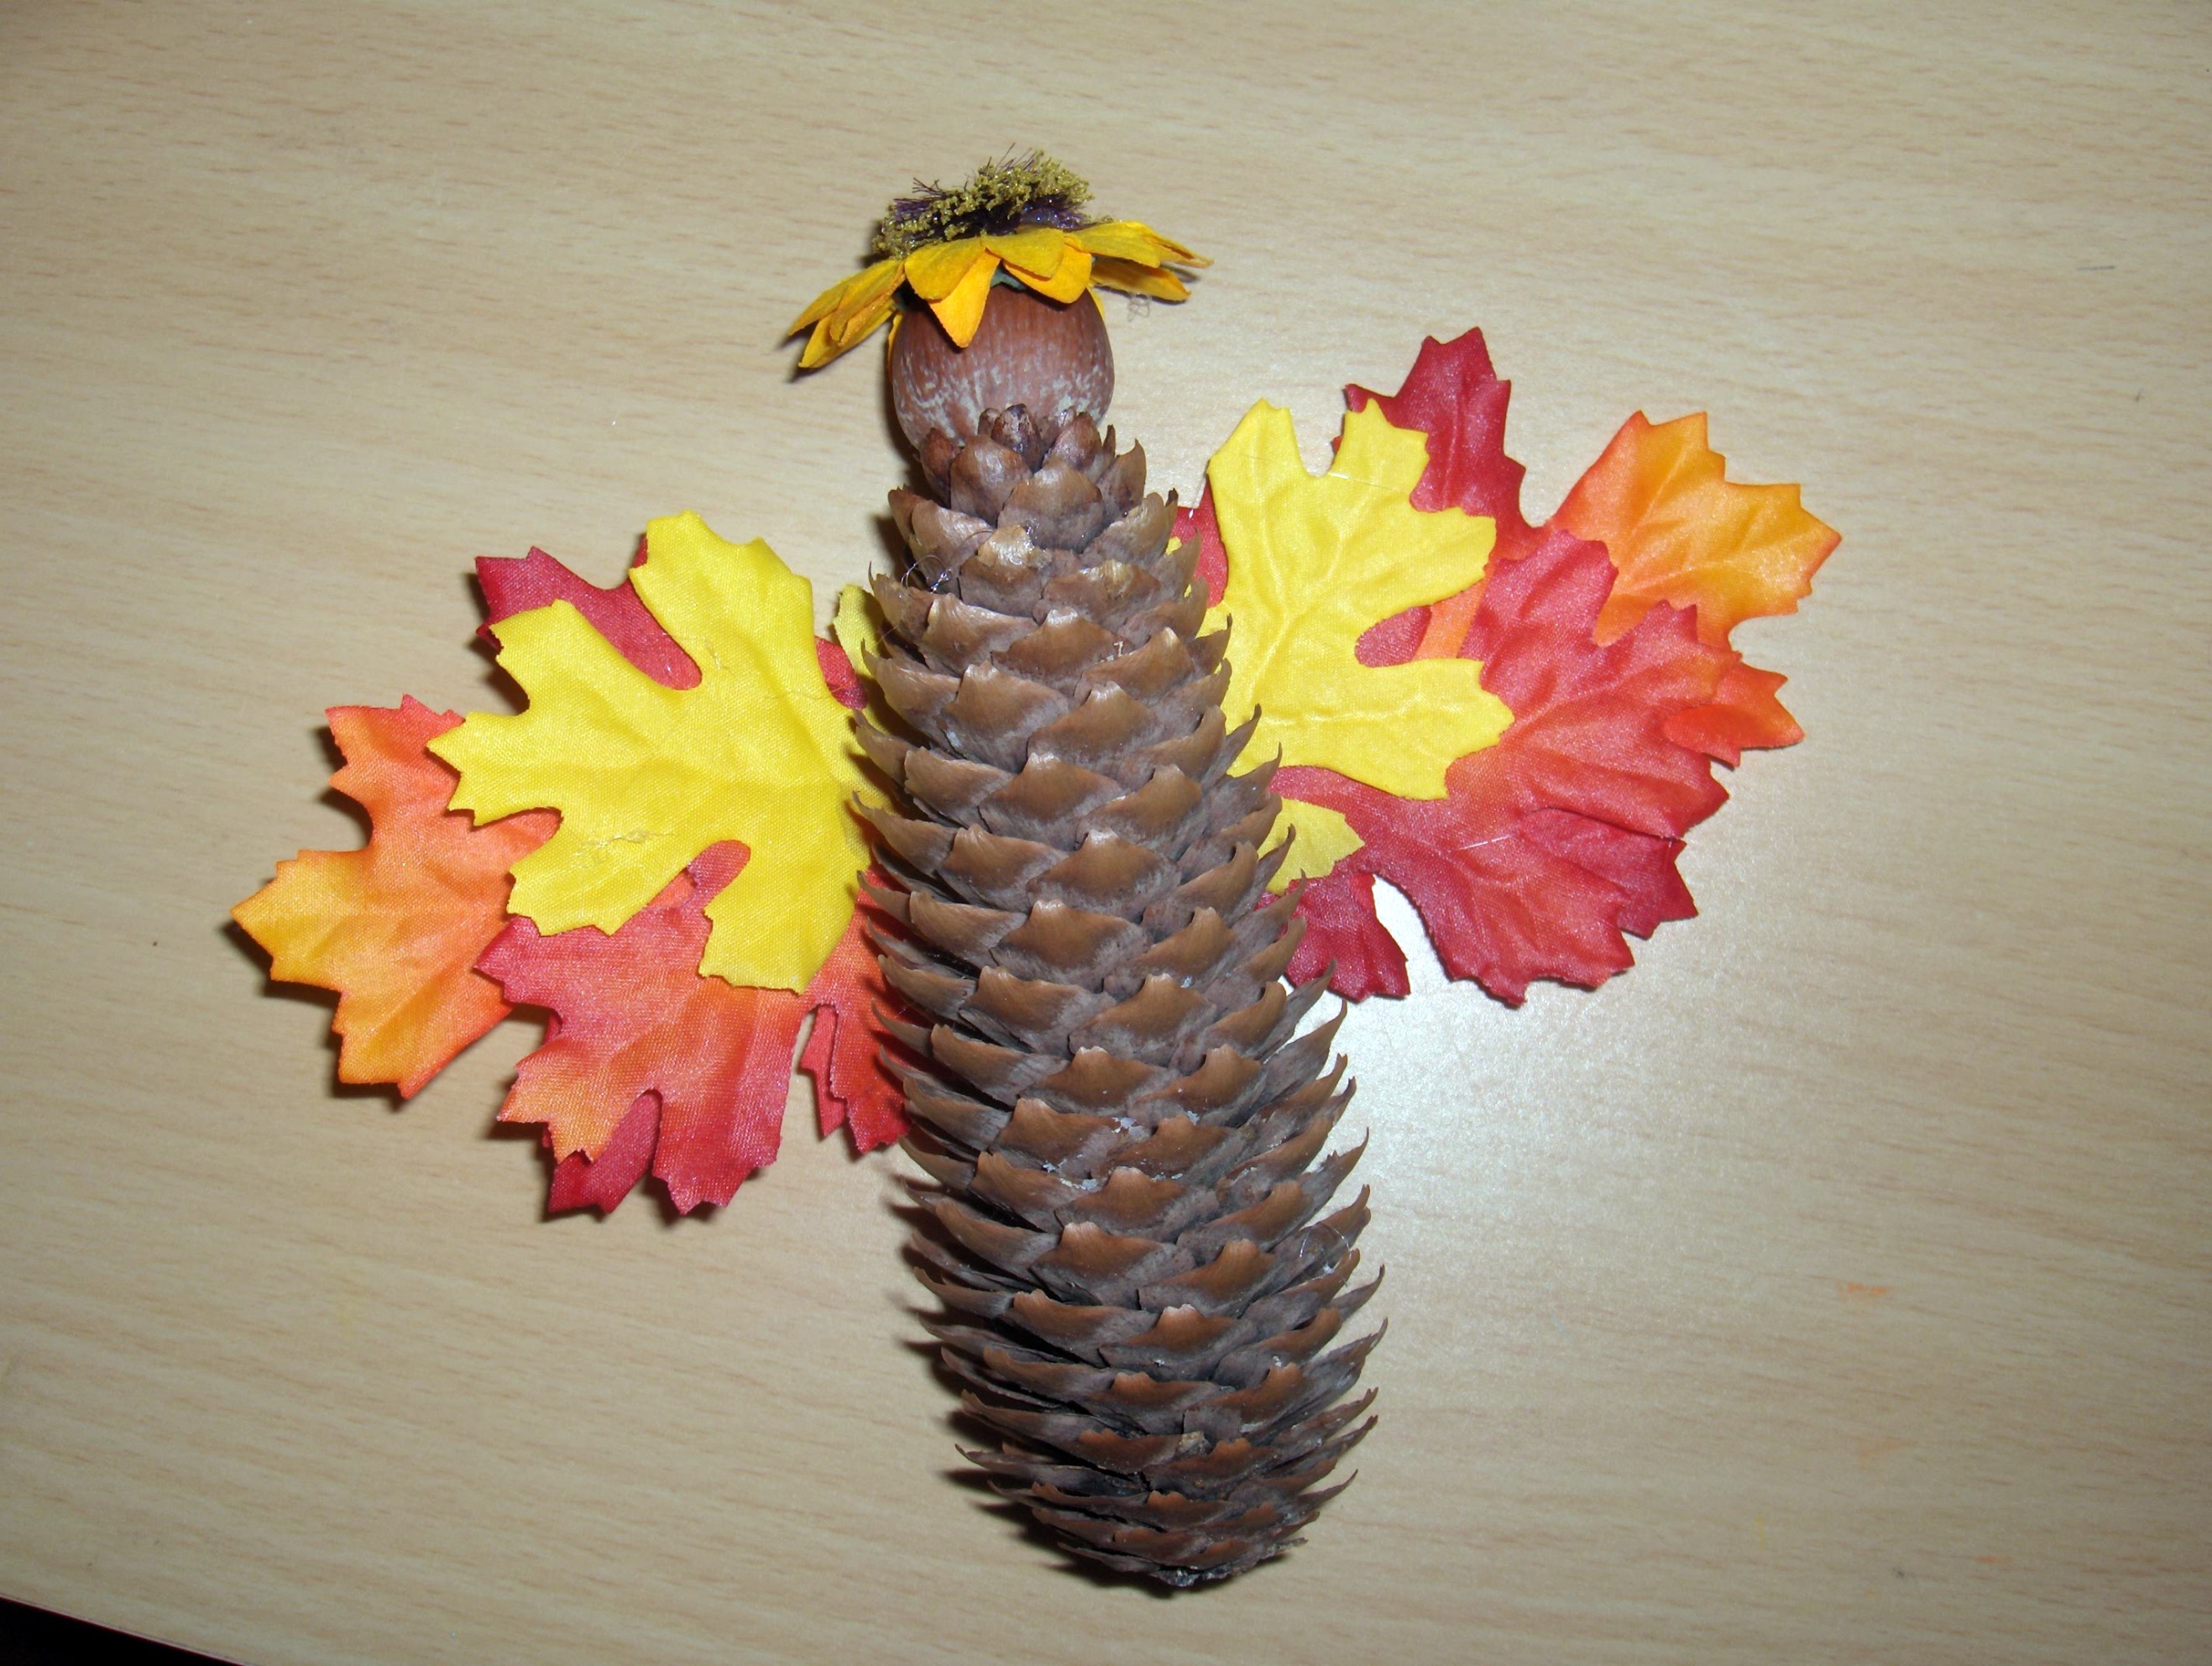
When I found a small box of pinecones among my craft supplies, I immediately saw that they would make great bodies for some Autumn themed angels. For this one, I hot glued some silk Autumn leaves to the back of the cone to form her wings. For her head, I wanted something that looked natural. If I could have found any acorns in good shape, I might have used one of those but all I could find were the acorn caps. So, I used a filbert instead. For her hair/halo, I had some little silk fall flowers leftover from another project and glued one of these on top of the filbert. Spanish moss makes for nice hair too and the colour goes nicely with the Autumn theme. You could add a hanger to this and use it as an ornament or sit her in a basket with some pumpkins and gourds or other such fall items. I liked keeping this one faceless and not adding any arms to her but you certainly could if you wanted to. How about spraying or painting the tips of the pinecone with white paint or glitter, using silk poinsettias (white would be really pretty I think) as her wings, and perhaps adding a sparkly chenille stem as her halo to turn her into a winter angel?
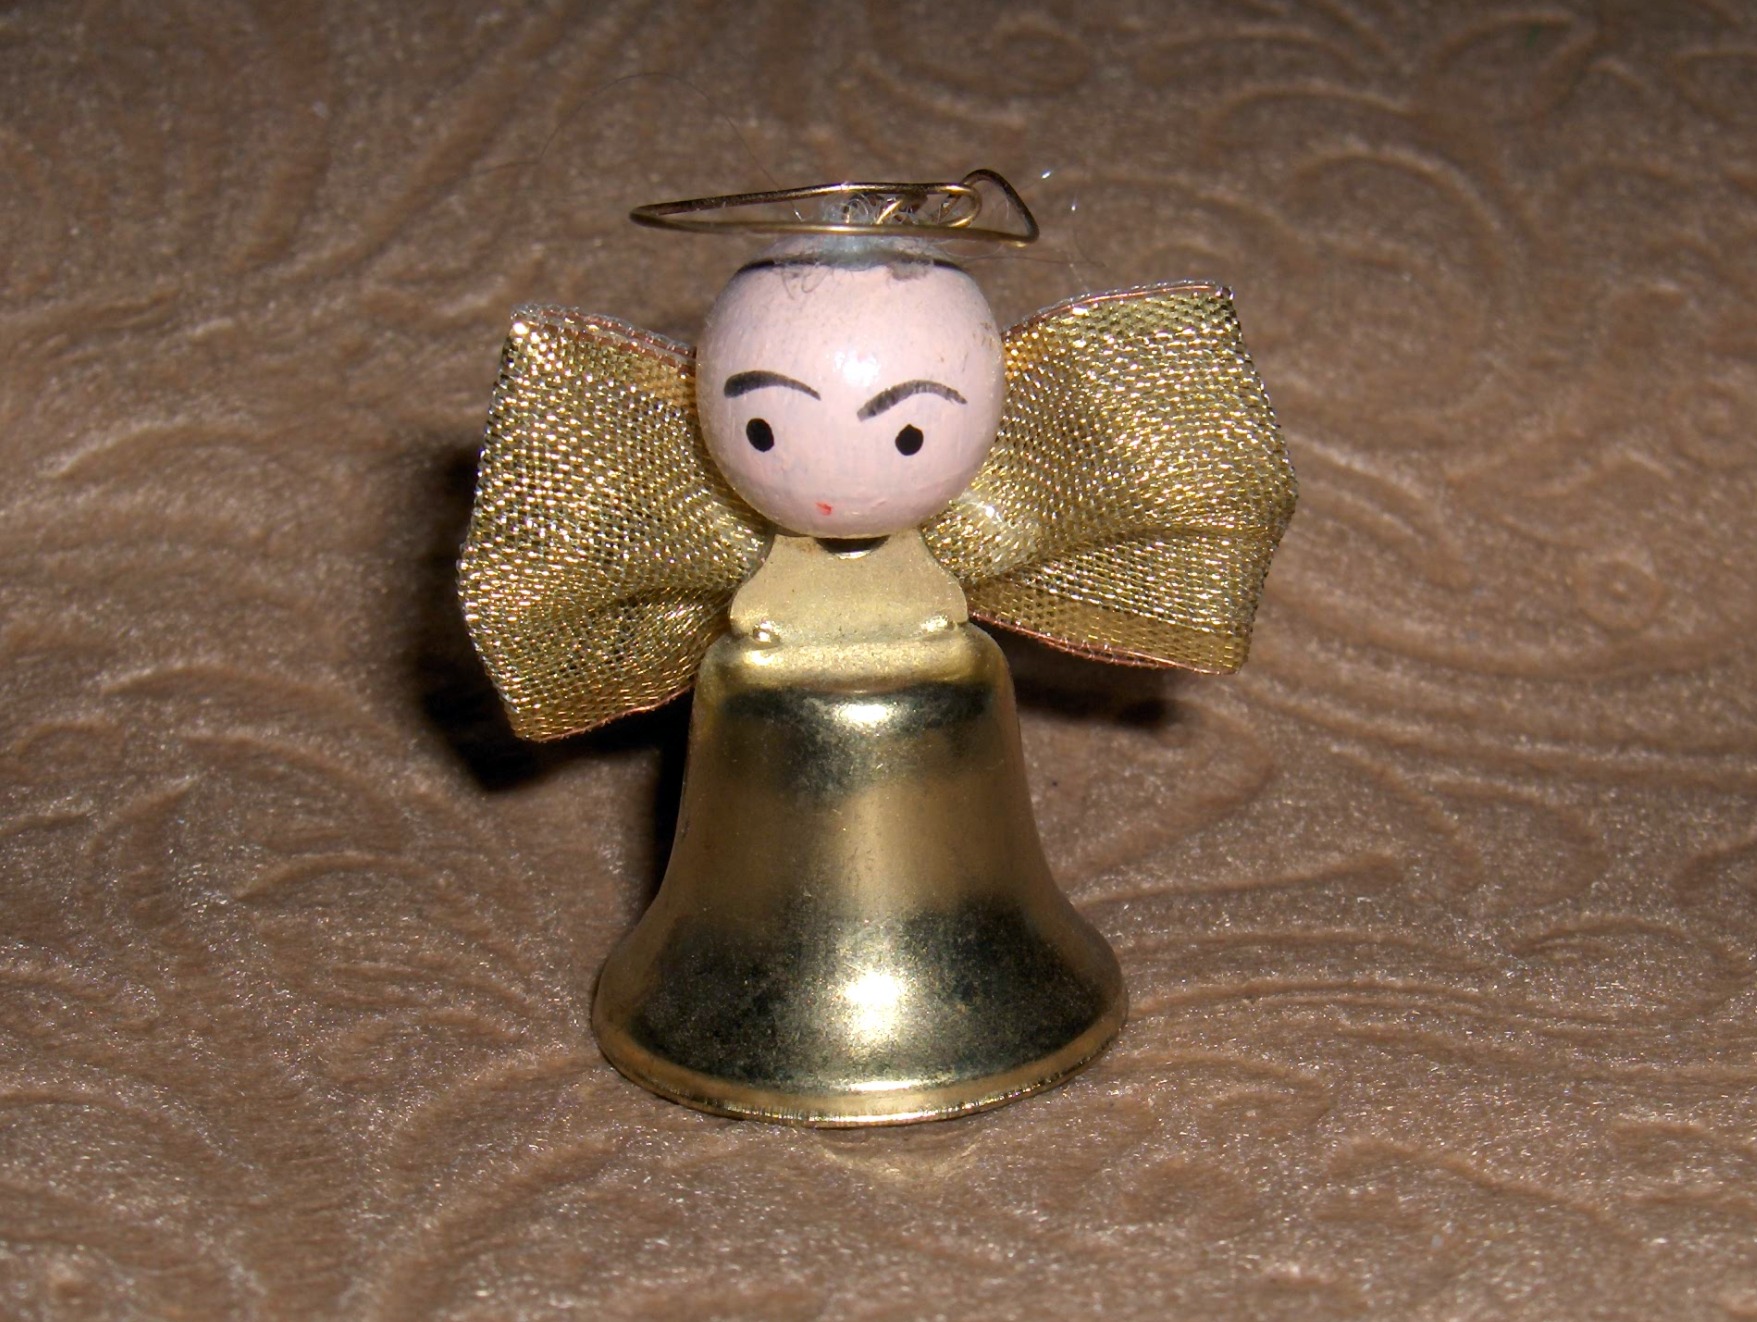
 For this one, I used a small bell as her body/skirt. A small bead (either with a face or not) becomes the head. I found it was difficult to find beads that were an appropriate size to fit the body but had a hole large enough to fit over the top part of the bell (the little "handle" so to speak). What I usually have to do is to insert some sort of an item (could be a craft knife or a sanding tool for example) into the hole of the bead and "gouge" it out to make it large enough to fit right over the top of the bell. Another option is to glue it in front of the "handle" but that doesn't work with some of the slightly larger beads. On this one, a little piece of wire was formed into a halo - you could also use some of that garland that has little stars on it or something similar. When I made these with my students, some also added hair out of things like cotton balls or embroidery floss. The wings are made out of a small piece of ribbon that was folded over and then gathered in the middle with a piece of wire - lace is another nice option. These make for really cute little ornaments if a hanger is added or can be suspended from a chain for a necklace or have a pinback glued onto them to make them into brooches. When I was teaching, I would give these each year to the classroom volunteers I had. I attached a little slip of paper that said, "Every time a bell rings, an angel gets its wings. Thank you for being our classroom angel."
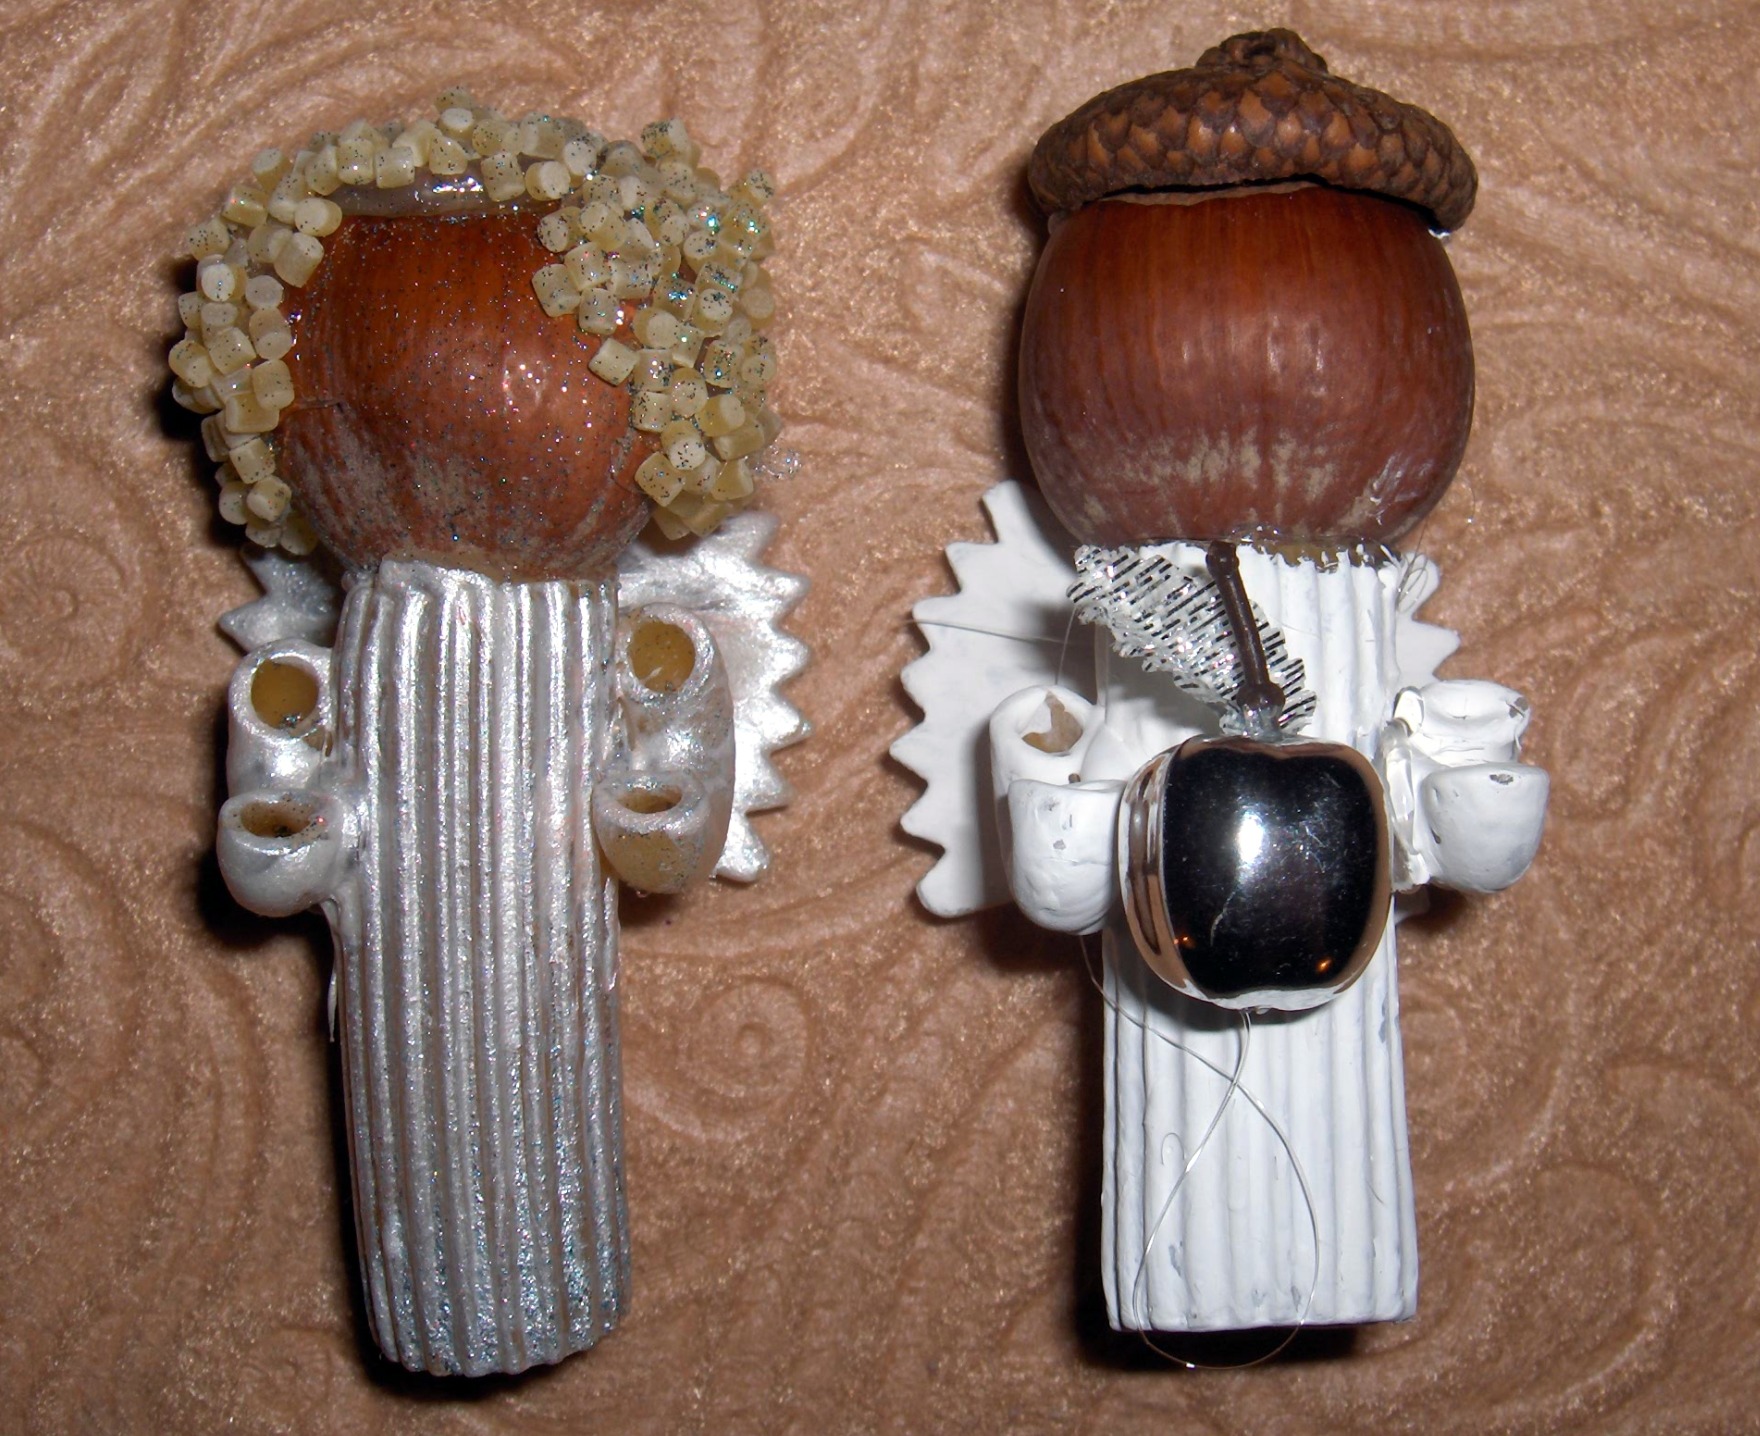
 Here's another one of my favourites. Can you guess what these are made from? The body is a piece of rigatoni. The arms are pieces of macaroni, the wings are a piece of bowtie pasta, and once again, the head is a filbert. A bead works for the head too. These can be painted with spray paint (a good option if you're making lots of them) or acrylic craft paint (usually needs more than one coat though). Again, moss can be a good option for hair but on the one on the left, I used tiny pasta that was labelled pepperini (one of the brands around here also just calls it "baby pasta"). On the one on the right I thought an acorn cap made a lovely little topper for her - kind of a natural looking halo but once again things like wire or chenille stems work well too. Because her arms are curved they are ideal for holding little items like flowers or in the case of the one on the right, an apple, making it a cute gift for a teacher. I assembled these with glue guns. When I've made them with children, I made sure to use the cool glue guns or Aleene's Tacky Glue (just requires some holding time until they dry). Again, hangers can be added to turn these into ornaments or pinbacks to make them into brooches.
Join us every Friday at noon Eastern for In the Season where we share ideas for celebrating the special occasions in life, both big and small. On Facebook: http://apps.facebook.com/creativeedventures OR on the web, http://linqto.com/rooms/creativeedventures
When I found a small box of pinecones among my craft supplies, I immediately saw that they would make great bodies for some Autumn themed angels. For this one, I hot glued some silk Autumn leaves to the back of the cone to form her wings. For her head, I wanted something that looked natural. If I could have found any acorns in good shape, I might have used one of those but all I could find were the acorn caps. So, I used a filbert instead. For her hair/halo, I had some little silk fall flowers leftover from another project and glued one of these on top of the filbert. Spanish moss makes for nice hair too and the colour goes nicely with the Autumn theme. You could add a hanger to this and use it as an ornament or sit her in a basket with some pumpkins and gourds or other such fall items. I liked keeping this one faceless and not adding any arms to her but you certainly could if you wanted to. How about spraying or painting the tips of the pinecone with white paint or glitter, using silk poinsettias (white would be really pretty I think) as her wings, and perhaps adding a sparkly chenille stem as her halo to turn her into a winter angel?
 For this one, I used a small bell as her body/skirt. A small bead (either with a face or not) becomes the head. I found it was difficult to find beads that were an appropriate size to fit the body but had a hole large enough to fit over the top part of the bell (the little "handle" so to speak). What I usually have to do is to insert some sort of an item (could be a craft knife or a sanding tool for example) into the hole of the bead and "gouge" it out to make it large enough to fit right over the top of the bell. Another option is to glue it in front of the "handle" but that doesn't work with some of the slightly larger beads. On this one, a little piece of wire was formed into a halo - you could also use some of that garland that has little stars on it or something similar. When I made these with my students, some also added hair out of things like cotton balls or embroidery floss. The wings are made out of a small piece of ribbon that was folded over and then gathered in the middle with a piece of wire - lace is another nice option. These make for really cute little ornaments if a hanger is added or can be suspended from a chain for a necklace or have a pinback glued onto them to make them into brooches. When I was teaching, I would give these each year to the classroom volunteers I had. I attached a little slip of paper that said, "Every time a bell rings, an angel gets its wings. Thank you for being our classroom angel."
 Here's another one of my favourites. Can you guess what these are made from? The body is a piece of rigatoni. The arms are pieces of macaroni, the wings are a piece of bowtie pasta, and once again, the head is a filbert. A bead works for the head too. These can be painted with spray paint (a good option if you're making lots of them) or acrylic craft paint (usually needs more than one coat though). Again, moss can be a good option for hair but on the one on the left, I used tiny pasta that was labelled pepperini (one of the brands around here also just calls it "baby pasta"). On the one on the right I thought an acorn cap made a lovely little topper for her - kind of a natural looking halo but once again things like wire or chenille stems work well too. Because her arms are curved they are ideal for holding little items like flowers or in the case of the one on the right, an apple, making it a cute gift for a teacher. I assembled these with glue guns. When I've made them with children, I made sure to use the cool glue guns or Aleene's Tacky Glue (just requires some holding time until they dry). Again, hangers can be added to turn these into ornaments or pinbacks to make them into brooches.
Join us every Friday at noon Eastern for In the Season where we share ideas for celebrating the special occasions in life, both big and small. On Facebook: http://apps.facebook.com/creativeedventures OR on the web, http://linqto.com/rooms/creativeedventures


No comments:
Post a Comment