Well, today's In the Season was a bit of a disappointment. You see I was there, recording away and apparently a group of you were there trying to watch - but I couldn't see any of you and none of you could see me. It's like we were in two different rooms. Apparently, there was a problem because Linqto had upgraded and I still had some of the old components in my cache so even though I recorded today's show, at this point in time even the recording is lost out there in cyberland somewhere. Ahhh tecnology! I do appreciate Linqto's help in figuring out what was wrong and the problem should be all cleared up for next time!
So, I'll show most of what I made on today's show - a lot of it you can mostly figure out from the pictures but if you have any questions please let me know. There are a few things I can't show you, at least not at this time, but you'll get most of the good stuff. Well....other than my witty banter, helpful hints, and all of that!

This is a candy sled that I used to make every year for my students. They were so popular that many of the other teachers used to buy me the supplies and ask me to make them for their classes as well. This is completely edible as long as you use some care when making it. The key things are that you need to use well wrapped candy - check it carefully for any holes or places where the wrapping may not be as secure and that you need to use only little dabs of glue from your glue gun - just enough to hold the item in place. If you glob on the glue really heavily it could potentially seep under the candy's wrapping.

I normally used small sized chocolate bars and candy canes. I didn't in this example because for the candy canes, you need the ones that are wrapped not the ones in individual pouches. In other words, they need to have the wrapping tightly around them the way the regular candy canes are but often the small ones are put into what looks like little individual plastic bags instead. I couldn't find any of the small wrapped candy canes this year so I went with the larger ones. I would have liked then to use a larger Santa to drive my sled but had already purchased the small ones. The chocolate bar serves as the base of the sled. The idea here is to glue on a chocolate Santa to drive the sled and then to put some candies on the sled behind him - if you can find ones that look like little elves or other characters (I've used penguins here) they can be his helpers and then you can glue on a pile of wrapped candies to look like a pile of Christmas presents back there too. Because I had to use the larger chocolate bars here I couldn't find any with pretty Christmas paper on them so I chose to wrap them with a bit of paper to make them look a little more festive. Glue a candy cane on each side of the chocolate bar as the runners for the sled. When I taught older grades, I would give them supplies and let them make their own. They got quite imaginative and sometimes would add things like cardboard reindeer to pull the sled with ribbons as the reins. You can add a little tent card to the front with the person's name on it and use these as placecards for your Christmas table. They also make really cute present toppers. Most adults I gave them to have always said that they were too cute to eat but the kids will generally eventually tear into them and as long as you used the care I outlined above, that's perfectly fine!

Along these same lines, here is a cute little candy tree. Again it is all edible. With the sled, I find that really the only glue that seems to hold them well enough is glue from a glue gun but with this little tree, a good white glue will do the trick too. You need 2 peanut butter cups and one Hershey's kiss for this. I like to buy the ones in the festive Christmas colours. Here I've used a red peanut butter cup right side up, then glued on an upside down green peanut butter cup, and finally topped that with a green kiss. This can be further embellished with things like glitter, sequins, rhinestones, tiny ribbon trim and so on. You might even want to cut out a star for the top. A hanger can be added to use this as an ornament or again it makes a cute place setting at the dinner table, package topper, or stocking stuffer (I just then wrap it in some tissue paper to protect it a bit).

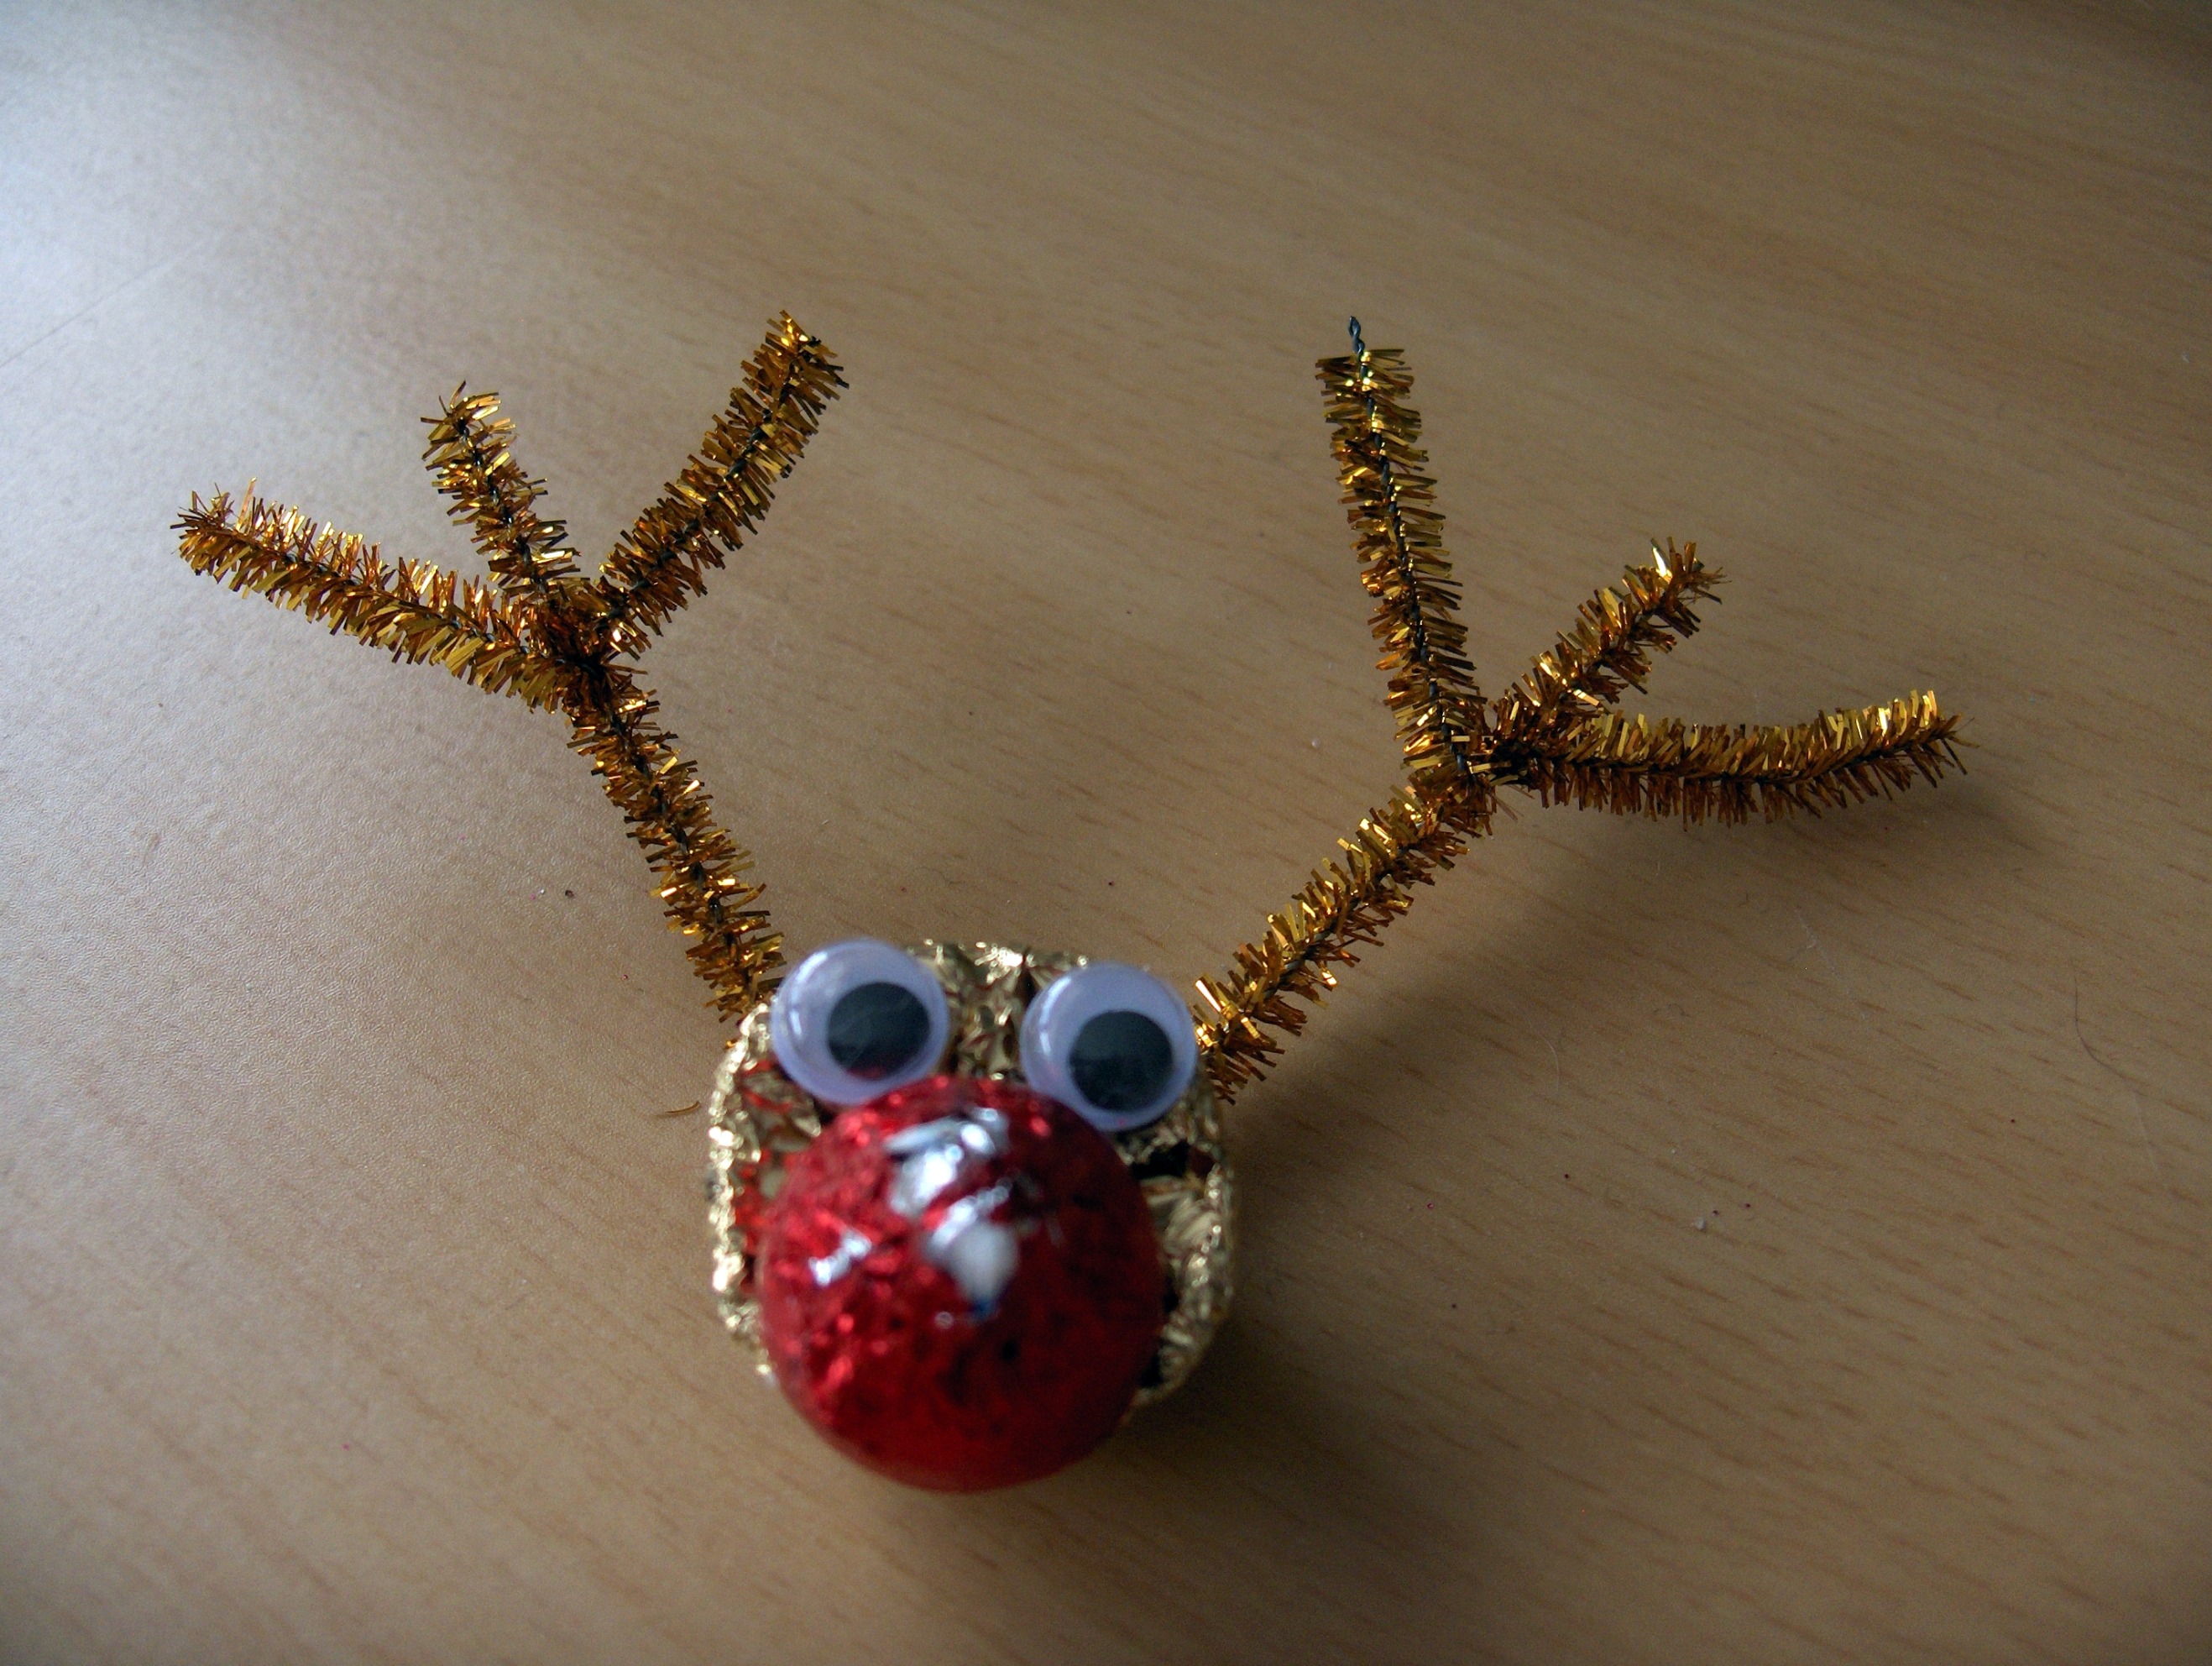
Here's another take on a candy treat. This reindeer is made with a peanut butter cup as its face and then a red Hershey's kiss for its nose. I added googly eyes and chenille stem antlers to finish it off. This is another one that works well with white glue instead of a glue gun (if you want children helping to make these), although I do find that the antlers are better put on with the glue gun.

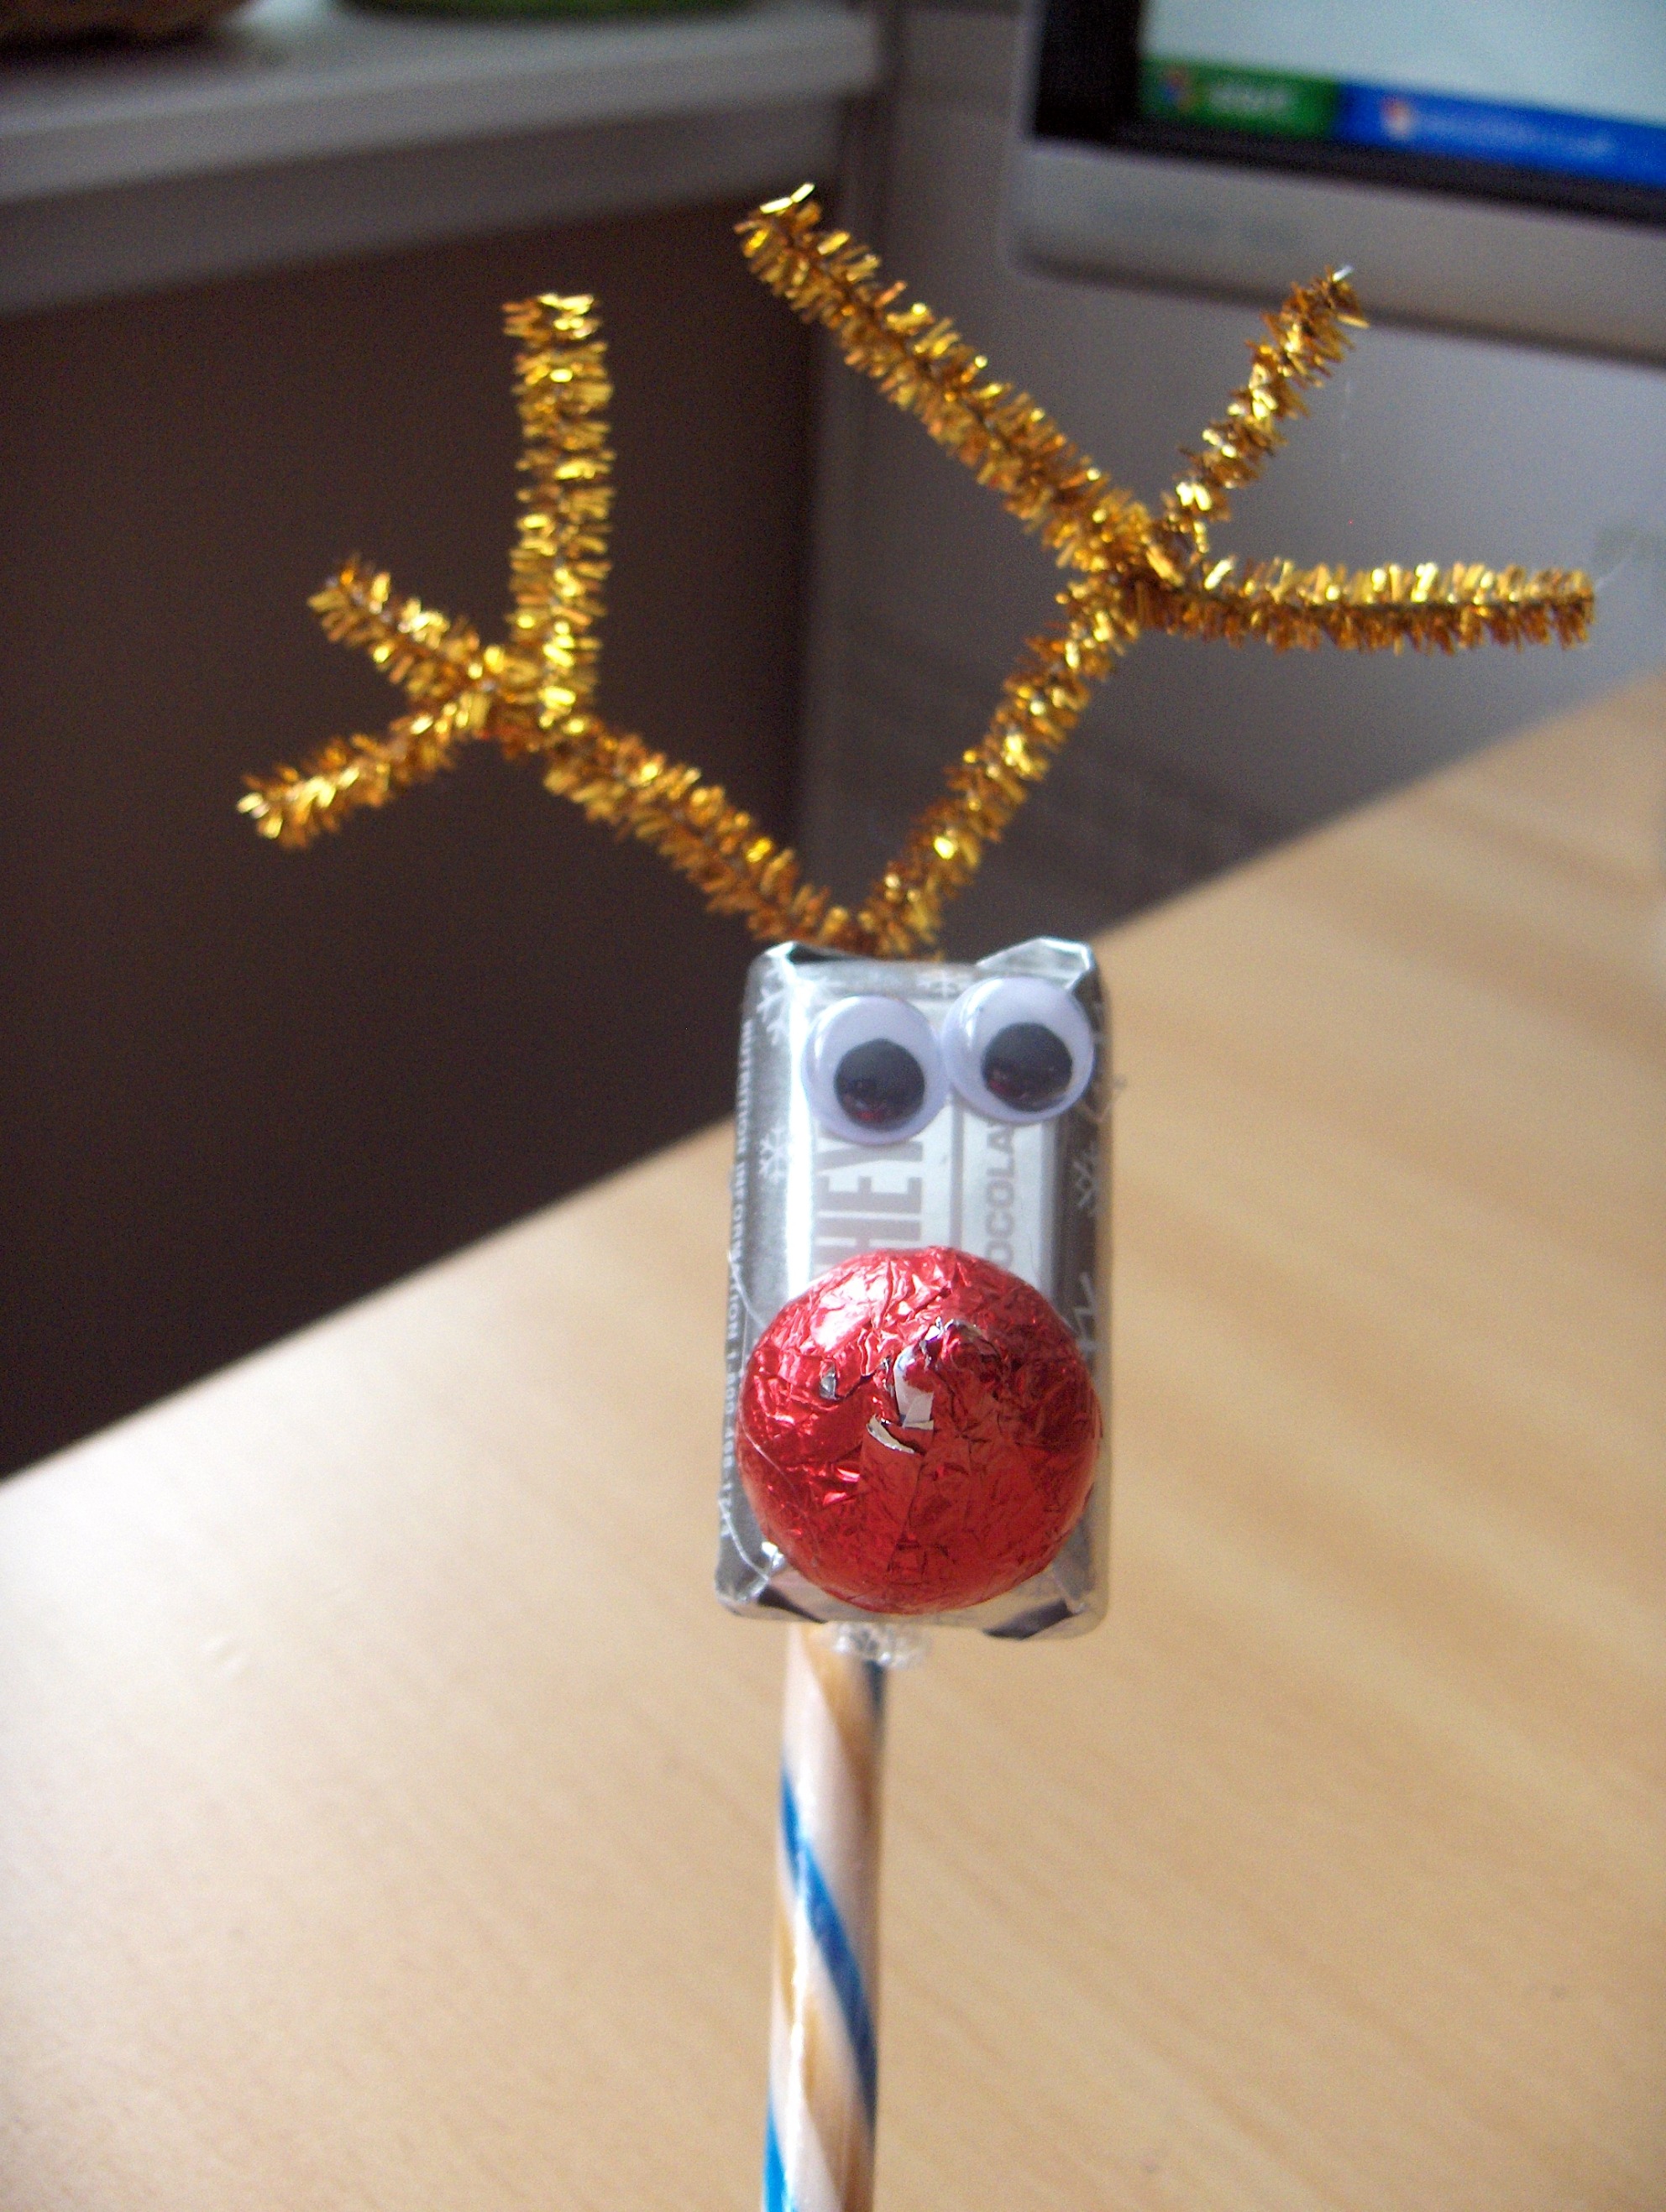
I'm sure you've all seen those typical candy cane reindeer - most people have probably made them with their children or had their kids bring them home from school or daycare or something. Well, these next two projects are a bit of a different take on the candy cane reindeer. This first one is similar to the previous reindeer project. This time, the candy cane is used as his body, a mini chocolate bar becomes his face, and a red kiss is his nose. If you prefer, on these or the previous project you could use something like a gold kiss on it and then add a red pompom as the nose sticking out from it. Googly eyes and more chenille stem antlers and he's all finished! This project I find works best with the glue gun.

This other variation on the candy cane reindeer uses two candy canes each. These happen to be French Vanilla candy canes - hence the blue and brown stripes. (shhhh don't tell anyone but I'm not big on traditional candy canes - not a huge fan of peppermint). Besides, these colours go better with my decor. In this case, I didn't use any glue to hold the candy canes together but you could if you wanted to. I just laid them next to each other and tied a piece of brown yarn around them. Then I wound and wound the yarn around them to hold them together and form the face/body. The curved parts of the candy cane look like his antlers and the sticks at the bottom become his legs. When I got to the end of the winding, I used a dab of glue to hold the end of the yarn in place but you could tie it off instead if you prefer. Googly eyes and this time, a blue pompom nose (to go with his blue stripes - did I mention that I'm not always much of a traditionalist either?) for his features, and then a ribbon bow and a tiny bell to embellish him. I was thinking you could make girlie ones with those pink or purple candy canes they have out too - maybe giving her some felt eyelashes and a bow in her antlers? Either of these candy cane reindeer look really adorable sticking up out of a stocking or a gift bag.

Finally, here's a sweet placecard holder made from candy canes. The canes I'm using here are fake but it works really well with really candy canes too. If you use the fake ones, you can use them year after year - and because of the way I've constructed them, they can be taken apart for relatively flat storage. If you use the real ones, then your guests can take them home (or eat them after dinner) as a little party favour. For these, you want to get the canes into a tripod sort of shape. I found it easiest to just line them up side by side first and then arrange them into a tripod after. I didn't glue these - I found the glue made them a little harder to assemble because you had to line them up just right. Instead, I found it easier to use a rubber band to hold them together. I used a green one so that it wouldn't matter if it showed. So, to recap, I lined them up, side by side and then wrapped a rubber band around them. Once it was on there snugly, I was able to pull the canes out into the tripod shape - because they aren't glued in place you can fiddle with them a bit as needed to get them into just the right positioning. You want two of them to serve as the part that holds the place card (kind of like an easel) and the third to be the support stand in the back. I then added a little red bow over the rubber band for more embellishment. A little jingle bell on it would be cute and festive too!
I shared a couple other ideas on the show which unfortunately I don't have to share with you at this moment BUT I will try to make them again so that you can see them. Again, let me know if you have any questions about any of these ideas and I'll be glad to help you out with them!

No comments:
Post a Comment